I used a piece of 1/2" thick steel and made a door that hinges over
the inlet.
It was easier to build this first and attach the feed chute.
On the feed chute it's important that the chute is
long enough that you cannot reach the
chipper knives.
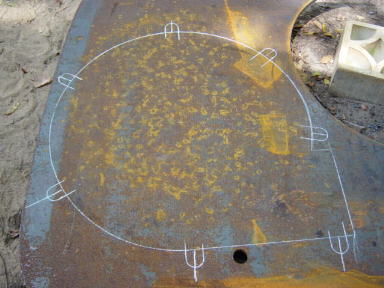
I then marked the opening from the backside and cut out.
I used 1/4" thick steel for the sides.
1/8" would have been easier but I could not find any at the salvage
yard.
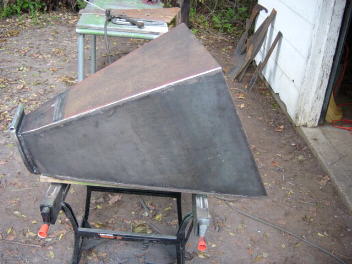
Finished up the welding (lot of welding)
The chute is heavy !! 80 lbs. or so ??
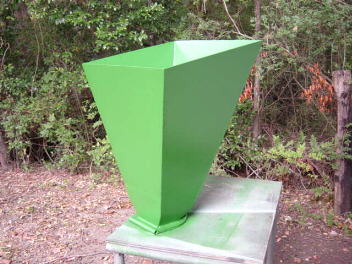
finished and painted
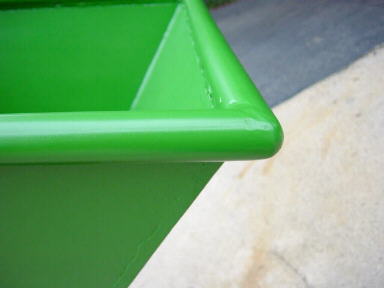
After a few trial runs I went back and added 3/4" pipe around the top
edge of the feed chute. Limbs were hanging on the sharp edge before
this.
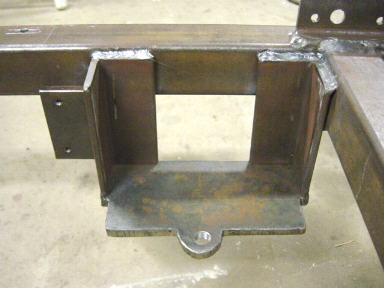
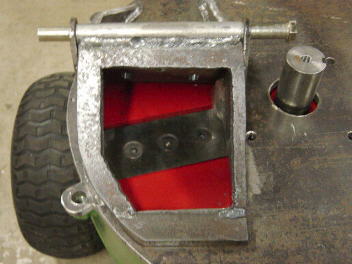
Battery box. The small plate on the left side of the box is
for the starter solenoid.
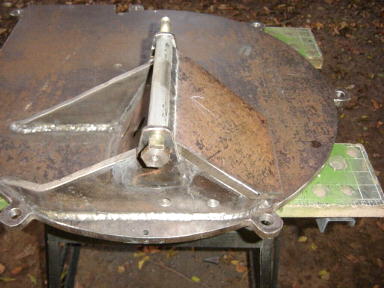
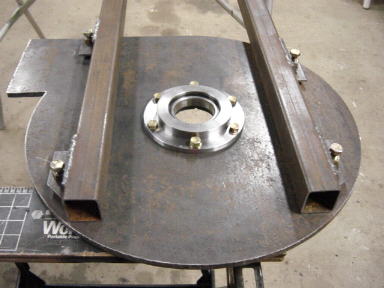
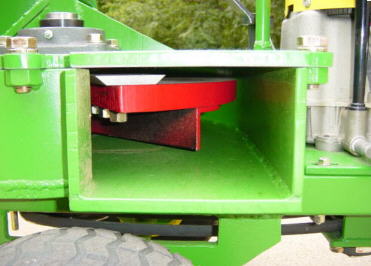
1/2" thick steel for top of chipper disc cover.
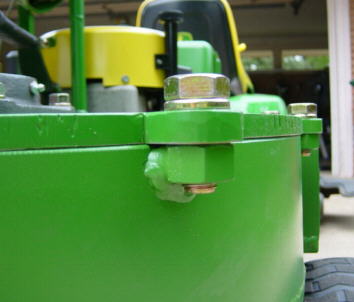
To attach the top cover I used seven 5/8" grade 8 bolts. I welded
the nuts to the side.
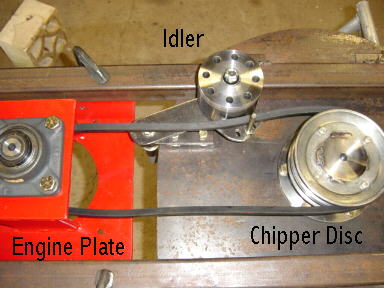
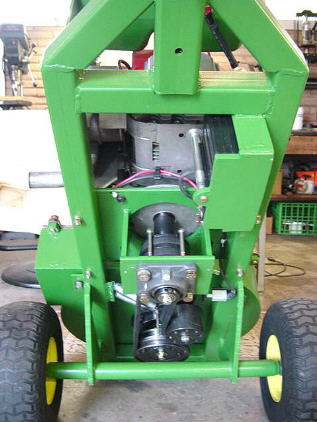
Idler pulley test. ( this is the underneath side of the chipper)
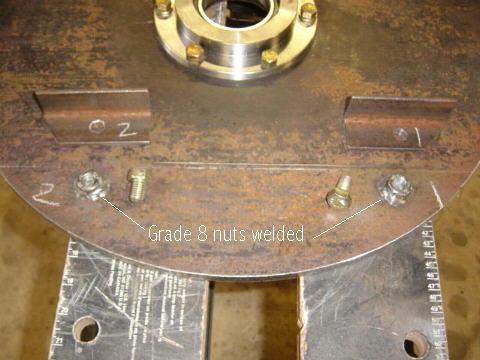
The chipper disc housing attaches to the frame by 1/2" grade 8 nuts
welded to the housing.
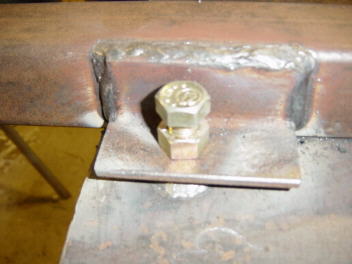
Angle iron is welded to the frame
Frame bolted to the chipper disc housing
( this is the bottom of the chipper )
Underneath view

Frame and battery
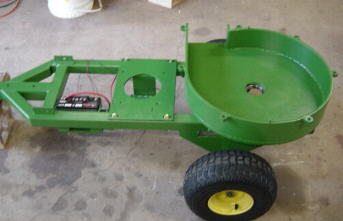
Assembly started
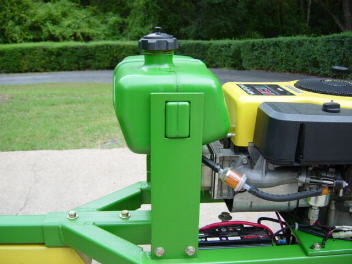
The gas tank was from the Murry riding mower. I used some
1/4" plate and machined the square holes on the sides to hold the tank.
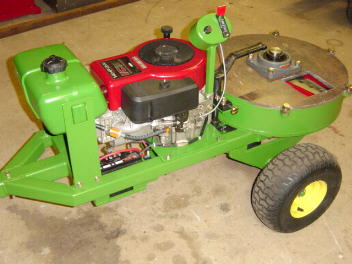
Motor was originally red, I later painted it yellow.
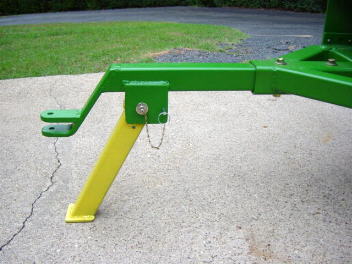
Jack stand
The chipper tongue slides into a piece of 3"x3" and is held in by two
bolts.
I did this in case later I wanted to pull the chipper with something
different.
Easy to build another tongue.
View into the exhaust port.
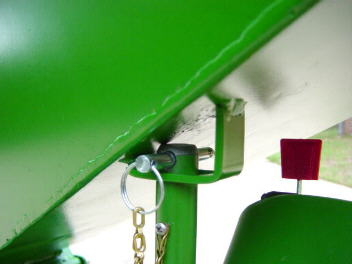
Latch for the feed chute when it's in the up position.
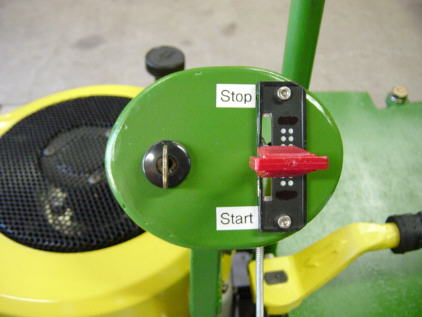
Control panel was made from a 4 1/2" piece of round pipe.
I used the hydraulic press to egg shape the pipe and then
welded a piece of plate over it. The wiring is ran inside the
piece of 3/4" x 3/4" support.
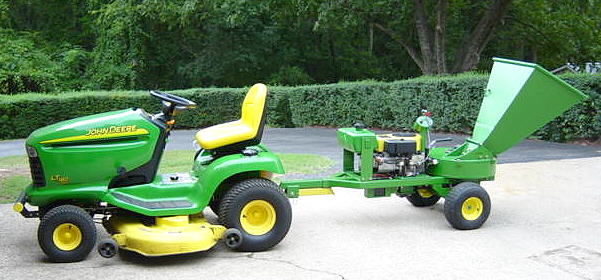
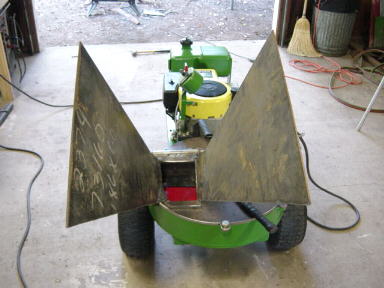
My LT180 John deere ( 48"cut) and the Chipper!! Nice match.

What made it all possible! My old retired Murry riding mower.
No telling how many thousands of acres it mowed.
Still ran perfect just everything else was wore out.
I've included pictures of the building process.
Just click on the links below.