4 axis DRO
Z Axis installation
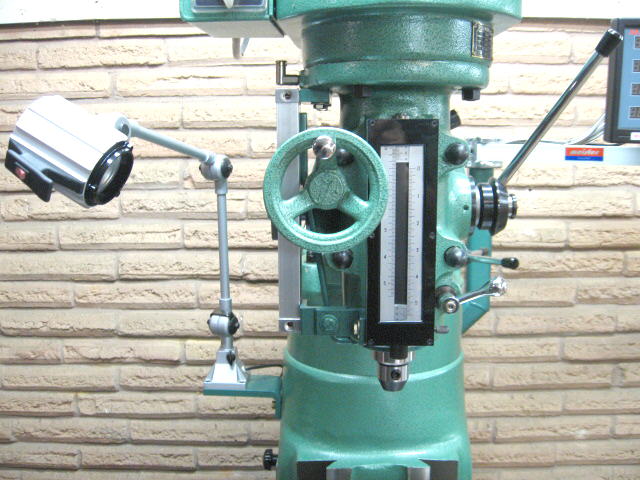
I spent a lot of time deciding on how to mount the Z
axis scale to the Grizzly G6760 mill. I looked at mounting
the scale to the front of the mill as done on most Bridgeport type machines. The way the G6760 is designed the scale
would be difficult to mount this way. It would also make it difficult to use the adjustable quill depth stop which
I use very often. There would have also been a problem keeping dirt and dust out of the open front.
I'm not saying this is the best way but this is what I came up with and it works beautifully!
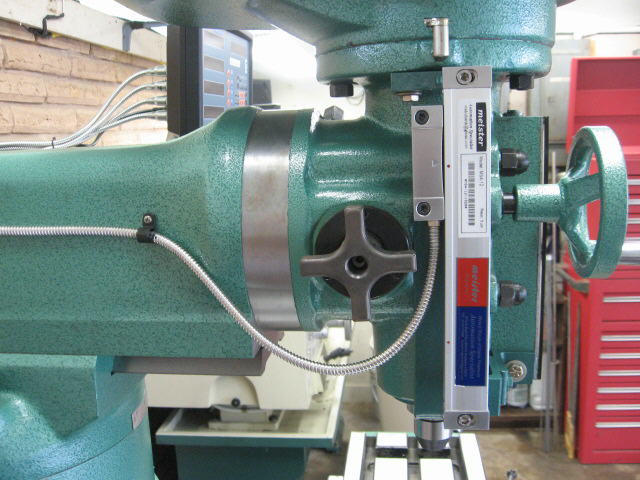
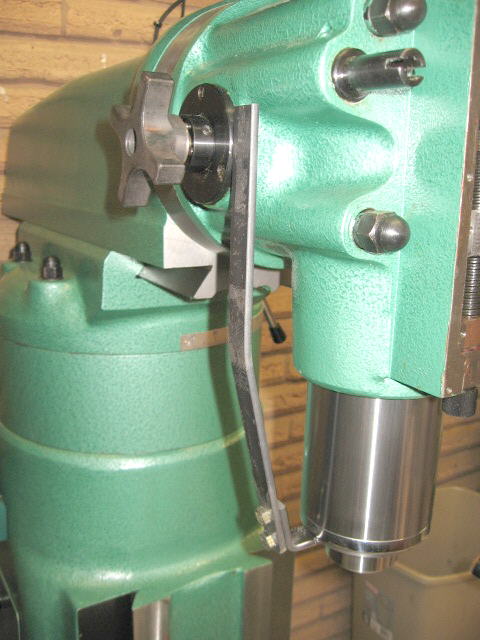
I
mounted the glass scale on the left side of the head as shown above.
With the scale mounted on the left side of the head it does not interfere with any of the front controls
or the factory scale.

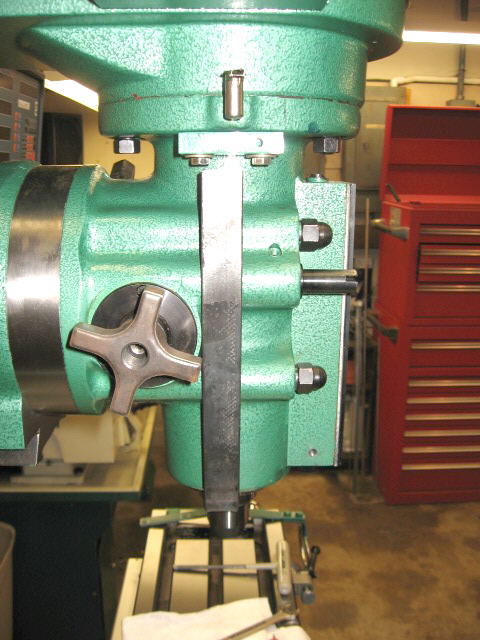
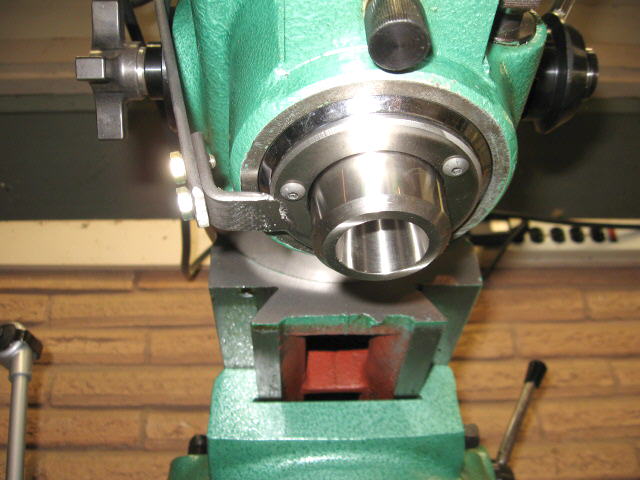
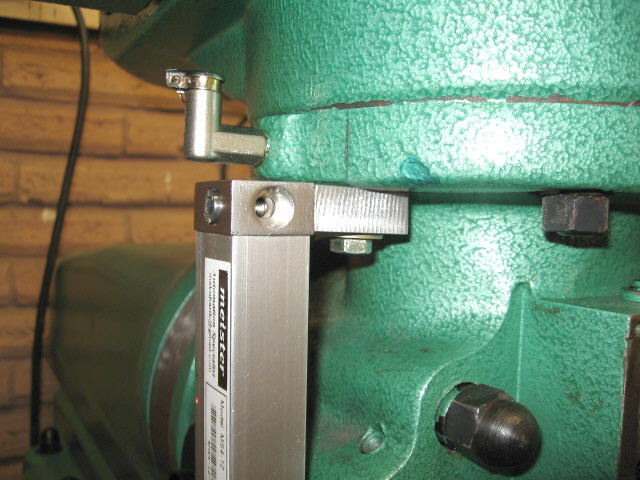
I built a bracket from 1/4" steel that bolts to the bottom of the quill housing.
I had to remove the quill housing cover to drill and tap three mounting holes.
The steel bracket arm raises and lowers as the quill is moved.
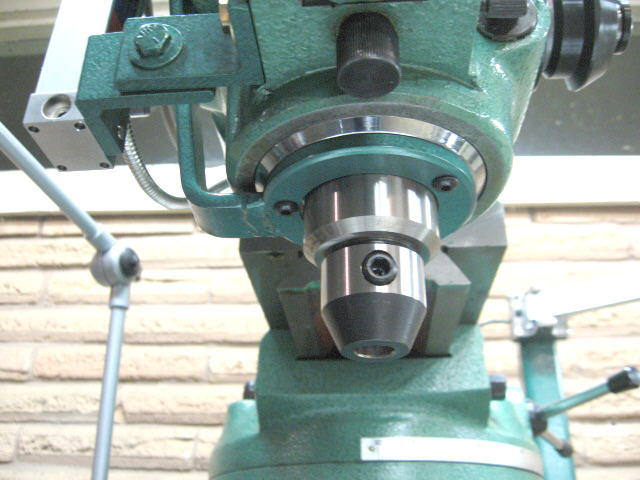
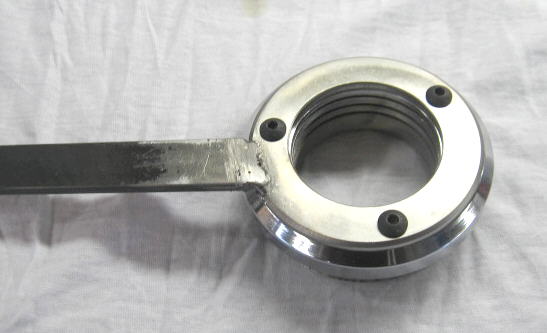
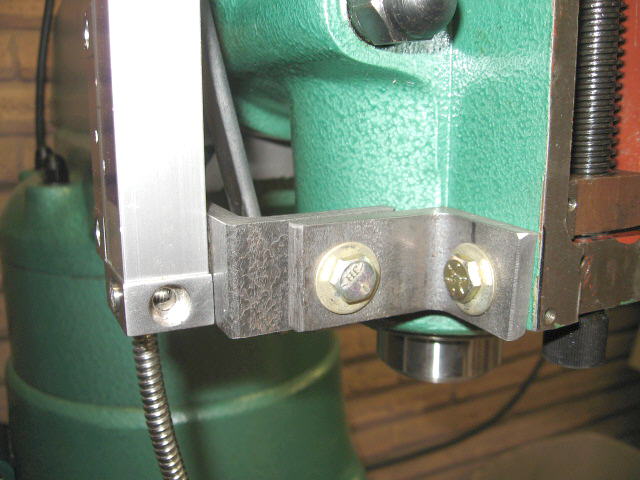
Looking from the bottom you can see how I attached the 1/4" steel bracket.
The bracket is for the reader head to attach to. Once this was built and squared up
I built brackets to attach the glass scale to.
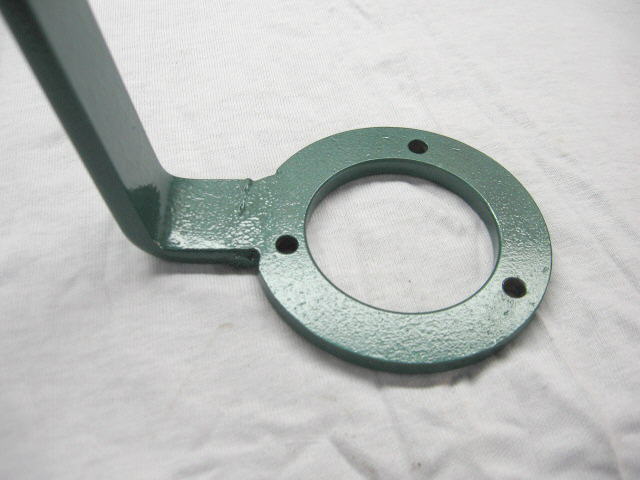
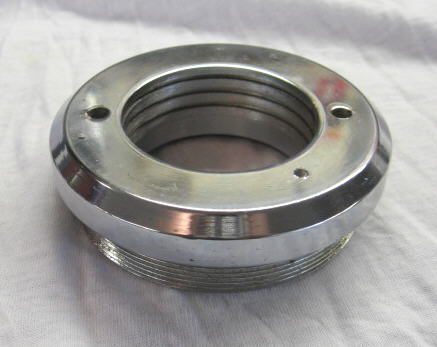
The bracket is made from 1/4" steel. I turned the round part on my lathe and welded
the arm to it. The arm is 1/4" x 1" wide. I heated the arm to make the bend.
More
Building Pictures
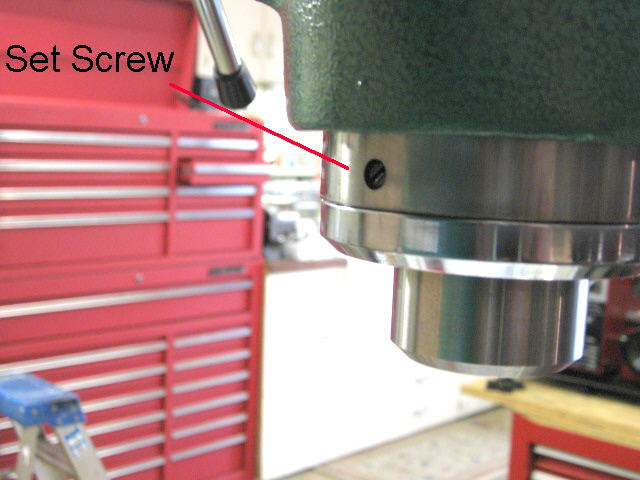
The back of the Grizzly G6760 quill has a set screw that must be removed before unscrewing
the lower quill housing. The quill has to be lowered to see this screw.
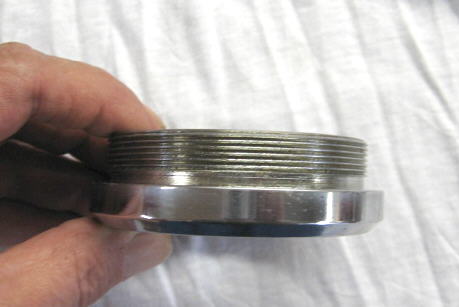
The bottom of the quill cover has two small holes. These holes are for a special wrench
to stick into that allows you to unscrew the housing.
I used two pins that fit the holes and two large screwdrivers to loosen the housing.
Quill lower housing removed
When reinstalling the housing line up the set screw indent.
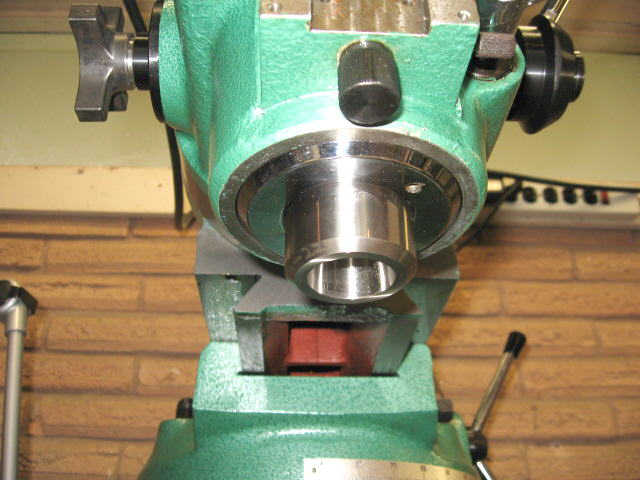
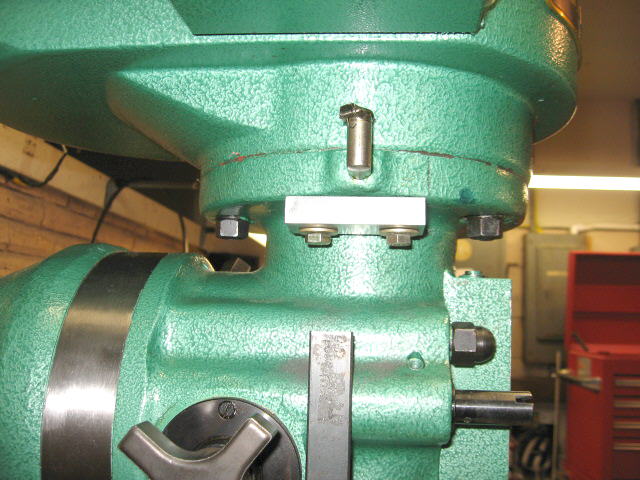
This picture shows the first of three holes I drilled and tapped.
I was careful not to disturb the two factory holes already in place.
Three holes drilled and tapped
The first bracked I made was from 3/16" steel. It was easier to work with and allowed me to
make sure this idea was going to work. Once I saw that everything worked I used this as a pattern
to make a bracket from 1/4" steel.
I mounted an aluminum block for the scale to bolt to.
I could not drill and tap the mouting screws from the bottom so I had
to remove the top portion of the mill head. I then drilled down and tapped
two holes for the block to bolt to. This was a lot of work but there was
no way around this. I was also carefull not to drill into the oil port.
I drilled on each side of it.
This picture shows how the arm is bent
Scale bolted to aluminum block
I used two pieces of 1/4" angle iron to make the bottom bracket
for attaching the scale. I also had to drill and tap a hole in the
side of the mill. I picked a spot were I would not drill into any
existing holes.
Completed!!
Specifications & comments |
X Axis Installation |
Y Axis Installation |
Z Axis Installation |
T Axis Installation |
Mount for Display |
Meister Magna4 |
Home |
Comments / Questions / Suggestions or Add Your Link
This information is provided for personal use only.
Copyright 2002 / 2008
Steve Bedair