Tumbler Reverse
Gear carrier plate
Harbor Freight 9 x 20 Lathe
Page 2
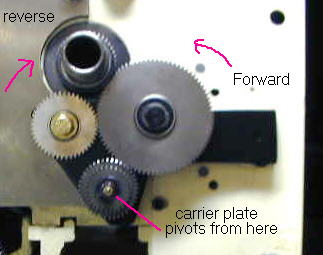
Here's a pic showing how the tumbler reverse works. The carrier plate
pivots from the lower
mounting stud. When the carrier plate is in the raised position this
is forward , or the same
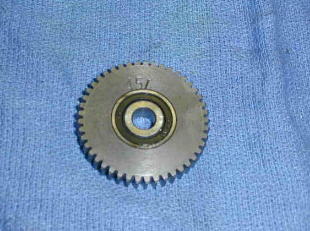
as a stock 9 x 20. When the carrier plate is lowered the new 45 tooth
gear comes in contact with the
spindle gear and the gearing is reversed. And 1/2 way in-between the
gears is the neutral position.
Neither gear is in contact with the spindle gear so no gears are turning.
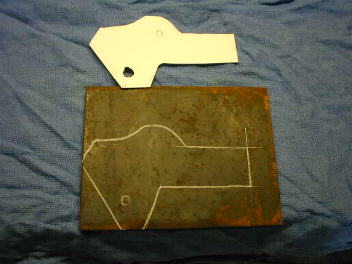
For the carrier plate I used 3/8" thick steel plate. The easiest way
to lay out the carrier
plate is to make a thin cardboard template as shown above.

After cutting the carrier plate has an overall length of 6 1/2".
The overall height is 4"
The pivot hole at the bottom is drilled to 1/2"
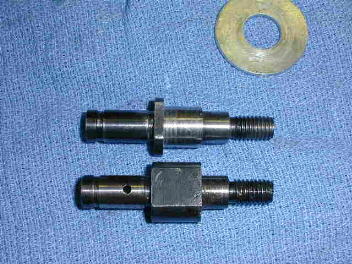
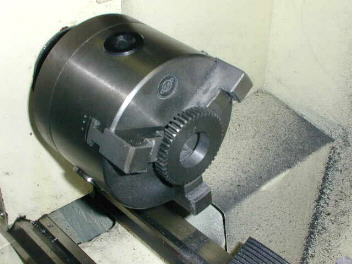
I used one of the original gear mounting studs. At this point I replaced
the motor and spindle pulley
and the belt. I was able to use the lathe to turn down the mounting
stud to 1/2" od.
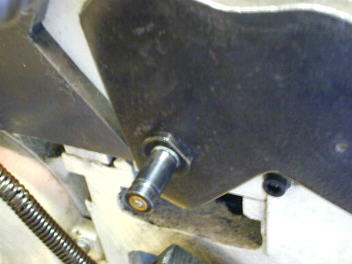
gear mounting stud in place.

This is the back of the carrier plate. The washer has a 1/2" ID and
is placed on the back
side of the carrier plate. I ended up tack welding the washer to the
plate so it is easier to
assemble. The 1/2 OD of the stud barely protrudes through the washer
to allow for a
snug fit while still allowing the carrier plate to move up and down.
( no side to side movement )
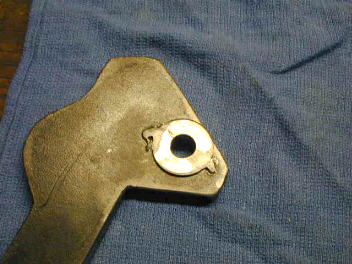
Back of carrier plate. I tack welded the washer just to hold it in
place while
attaching the plate to the lathe.( hard to get your fingers back there
)
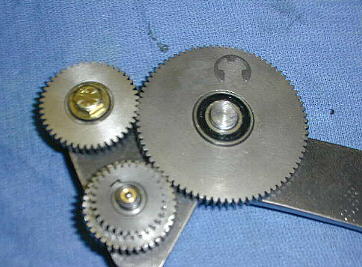
The gear carrier plate completed. The bottom gears attach to the gear
mounting stud , the gear
mounting stud threads threads into it's original hole location on the
headstock.