Steve
Bedair's
Telescope Site
Longview , Texas
Updated 2-2003
Celestron C-11 LXD Powered
Mount
Az / Alt Bearing Supports
Az Bearing Support
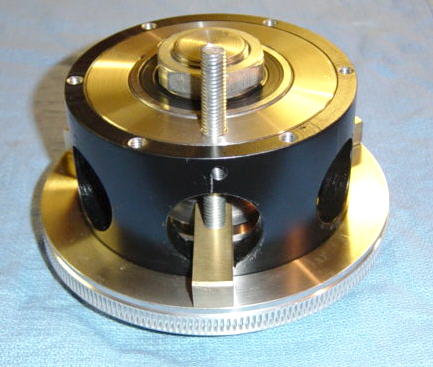
Az bearing and worm gear assembly for the C-11 mount.
Here's what I came up with for the Az bearing support for the C-11 mount.
It's design was
the result of the bearings I was able to find on E-Bay. It uses a large
4.5" OD x 2 7/8" Id
roller bearing in the bottom and a smaller 2.5" OD x 1 3/4" in the
top of the bearing cage.
I did all the lathe work on my Harbor Freight
9x metal lathe. The brass fingers are the clutching
mechanism which apply equal pressure to the top of the 200 tooth aluminum
worm gear by a
threaded stud.
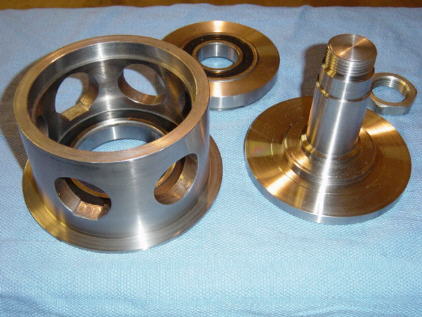
Az bearing assembly parts
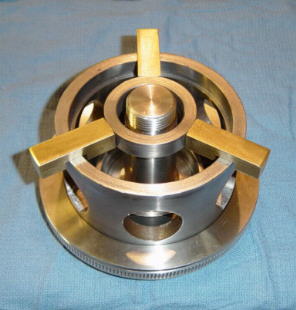
The brass clutching "fingers" are threaded into a steel ring.
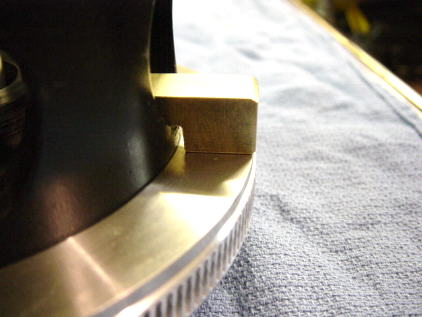
The brass fingers apply pressure to 3 equal places on a stainless steel
ring that applies pressure to the worm gear. When the clutching bolt
is
loosened the fork assembly can be turned easily. When the clutching
bolt is tightened the worm gear is sandwiched between two stainless
steel plates.( A lot of work but it really works well )
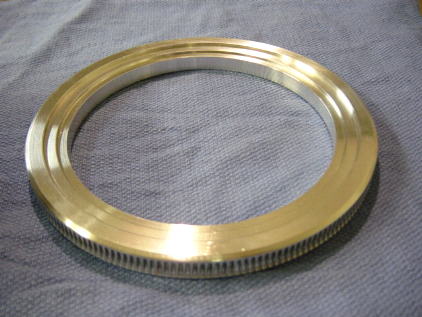
Az 200 tooth worm gear bored to fit around the OD of the bearing holder.
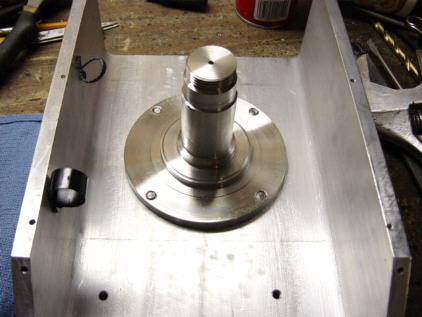
The Az shaft bolts directly to the bottom of the mount case.
This provides a very solid mount for the fork assembly.
ALT Bearing Supports
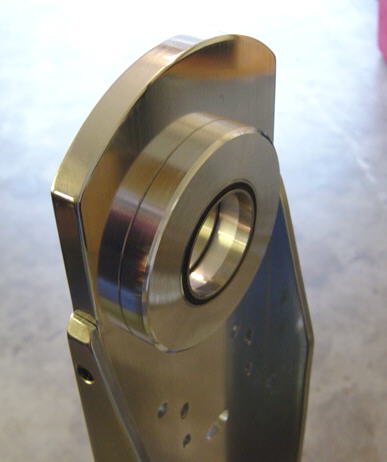
The Alt axis uses two thin 2 7/8" ID precision roller bearing for each
fork.
The bearings are pressed into an aluminum bearing holder. The bearing
holder is then bolted to the fork arm.
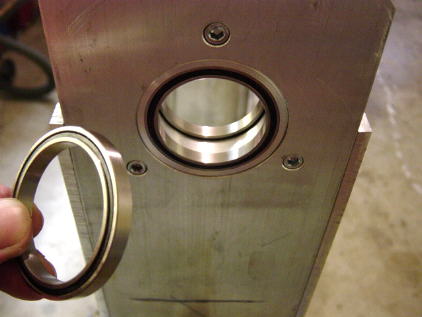
Thin roller bearings from E-Bay.
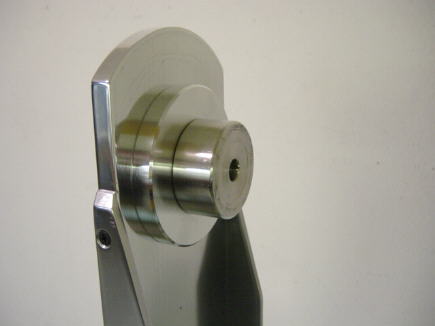
The Alt shafts are stainless steel and these stay attached to the mount
at
all times , even when the ota is removed. The center hole is for attaching
the ota.
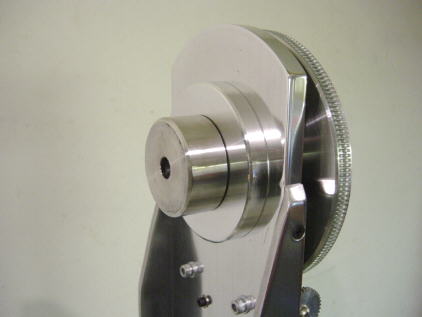
The same for the worm gear side. The worm gear stays tightened to the
alt
shaft at all times. The hole through the center acts as the clutch
and attaching
bolt. With this method it's possible to keep the worm and worm
gear meshing
perfectly since it is left tightened in place at all times.
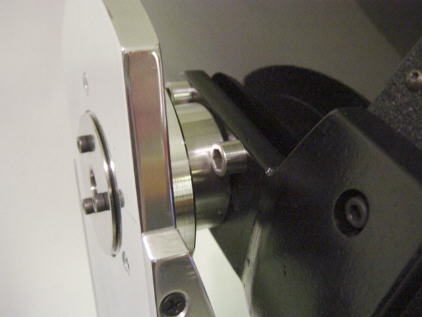
The stainless steel alt shafts protrude 1" toward the ota. The ota has
homemade steel
brackets that attach to the ota & sit on the shafts. The ota brackets
are threaded
for the attaching bolts. This makes it super easy to remove or place
the ota on the mount.
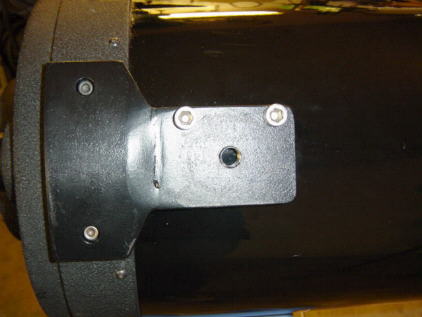
The steel brackets stay attached to the OTA. The two allen head bolts
on the right side act as stops when the ota is placed on the mount.
They
also place the ota in perfect alignment while the attaching bolts are
tightened.
Comments / Questions /
Suggestions or Add Your Link
This information is provided for personal use only.
I cannot be responsible for any joy this may bring.
Copyright 2001-2002-2003
Steve Bedair