Cast Iron Base Modification
This is the first import lathe that I have ever seen that the
stand or base was too tall! The spindle center height
on the G4003G is 47" , this is fine if you are over 6' tall. I'm only 5'8 and it was just too tall for me. I built a
wooden platform out of 2x4's and covered it with 3/4" plywood. This was about the correct working height
for me but I didn't like stepping up to the lathe. I also thought about building a new steel stand but I really like the
heavy cast iron factory stand. After studying the cast iron base I decided to cut it down. I used a plasma cutter
and removed 3 3/4" from the bottom of the stand. I then welded steel leveling tabs onto the base.
This worked out perfect and now I have a spindle height of 43 1/2". The leveling bolts make it a lot easier
to precisely level the lathe. Cast iron can be tricky to work with but I did not have any problems.
I've included photos below.
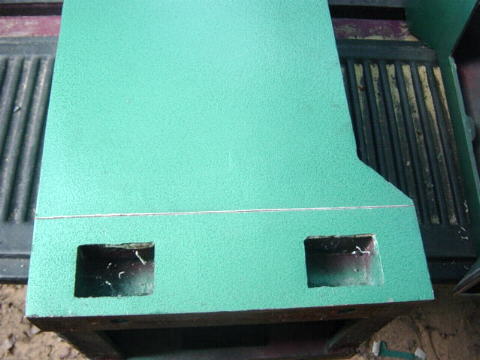
This is bottom of the G4003G cast iron base. You can see the scribe line
where the cut will be made. From the bottom the line is 3 3/4".
The piece below the line was removed & discarded.
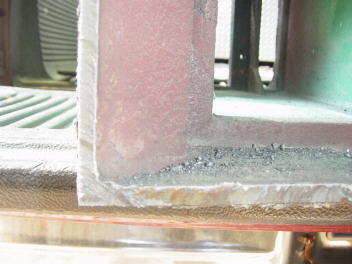
I cut the cast iron base with a plasma cutter.
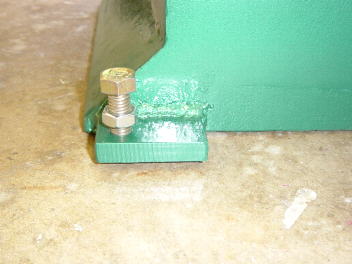
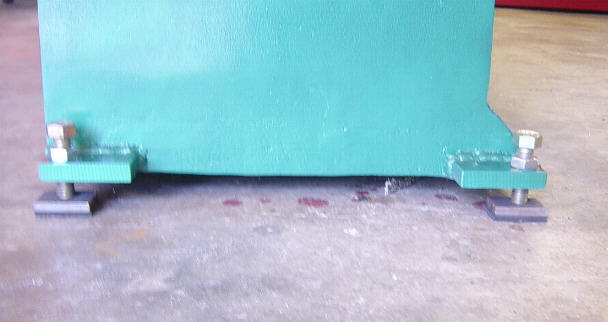
I welded 4 leveling tabs on the corners of each base (8 total leveling tabs).
The tabs are 1/2" thick steel and the leveling bolts are 1/2" bolts with locknuts.
I drilled and tapped the tabs for the 1/2" bolts.
I welded the steel tabs to the base with an AC welder using regular 6013 general purpose welding rods.
No problems at all welding to the cast iron.
I did not use any special procedures for welding or cooling.
Back view
The leveling bolts press down onto a piece of 1/4" steel with a thin rubber pad against the floor.
Each piece of 1/4" steel has a slight recess for the 1/2 bolts to set into and keep the steel plate centered.
I did this using a 1/2" drill bit shown below
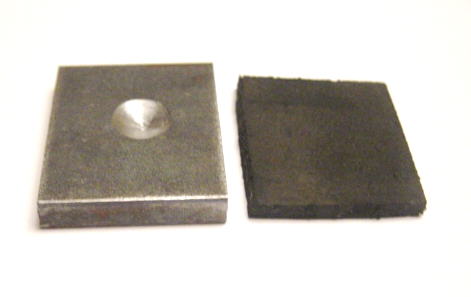
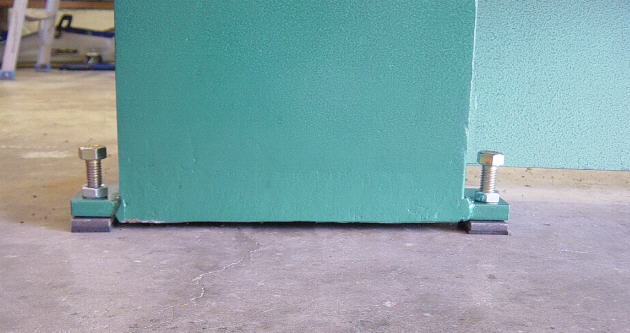
1/4" thick steel and thin rubber floor pad.
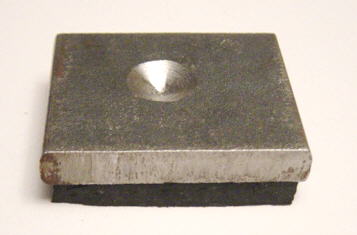
The leveling bolts press down against this.
Side view
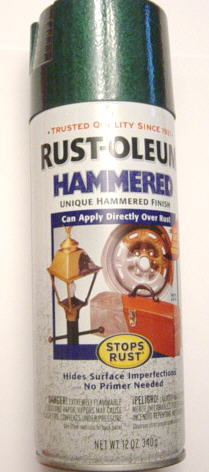
Once finished I painted the base with Rust-Oleum Hammered deep green paint.
This is almost an exact match.
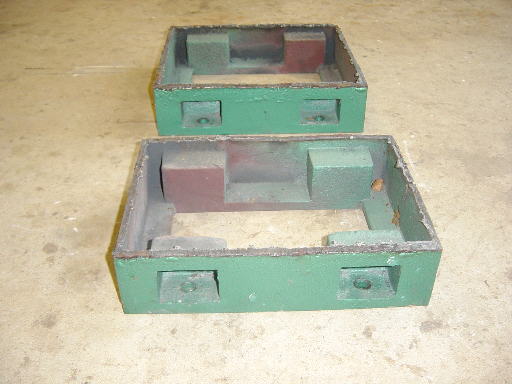
This shows what was removed from the base
Back