Steve
Bedair's
9 x 20 Lathe Site
Longview , Texas
6 -2002
Indexable Turning Tools
How to build your own
The building pics below show attaching 1/4" TCMT carbide inserts to
1/2 tools.
This method will work for a range of different sizes.
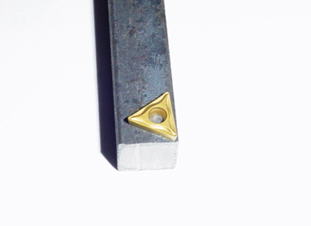
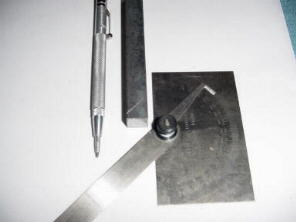
First the insert is laid out on the
1/2" square steel
A protractor and a metal scribe to make marks.
I make most of my tool holders 4" long.
Be sure to position the insert as shown.
You do not
want the tip to hang over the edge of
the steel.
This supports the carbide cutting tip.
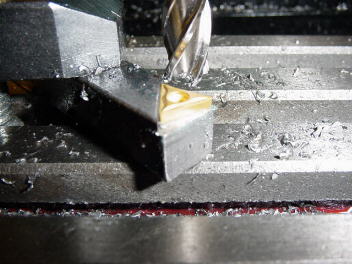
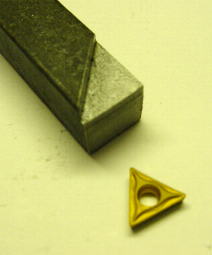
Using the Mini Mill I mill the recess for the insert.
Milling completed
If you don't have a mill you could use a lathe with a
milling attachment.
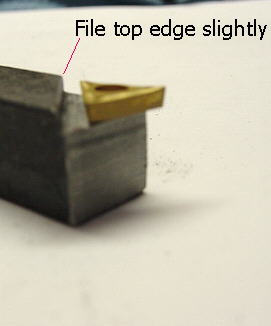
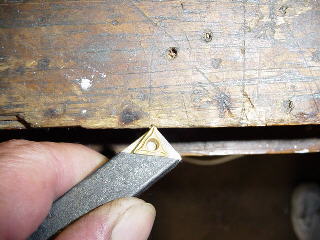
Slightly file the top edge
of the 1/2" steel as shown
Using a metal scribe while pressing the insert firmly against
to allow for the bevel of
the insert. You don't have to the edge
of my workbench I mark the center hole location.
remove much metal and it
does not have to match
the bevel exactly.
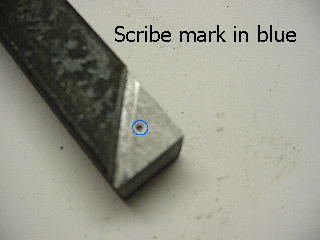
The blue represents the scribe mark. I use a center punch to mark the
screw hole location.
If you look closely you will notice the punch mark is slightly toward
the filed edge of the tool.
This ensures that the insert fits tight against
the back filed edge of the tool holder.
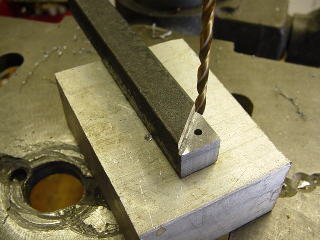
I have already drilled a # 43 hole to allow for the 4-40 tap.
I next use a 17/64" and drill approx 1/16" deep. This prevents
any pulled threads from interfering with the insert.
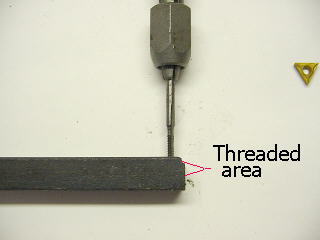
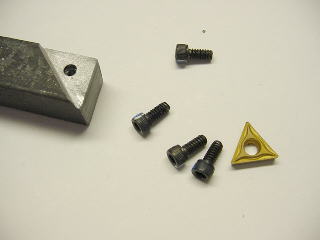
Before tapping I also drill from the bottom
of the tool holder I used 4-40
allenhead screws to attach the inserts to
approx half way using the larger 7/64" drill
bit. You do not the
1/2" tools. I had to cut bevels on the screws as
want to cut threads the full thickness of
the 1/2" tool. You
shown below.
will never make it the full thickness with
such a small tap.
Tap slow and use lots of oil. ( I broke my
first tap )
Click here for a detailed picture
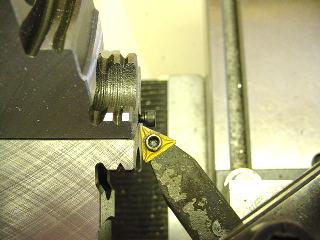
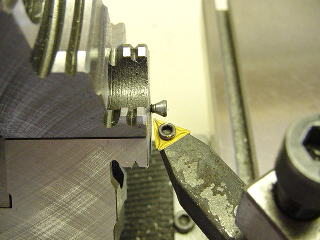
Using my 9 x 20
lathe I beveled the 4-40 allenhead screws.
Go slow and easy.
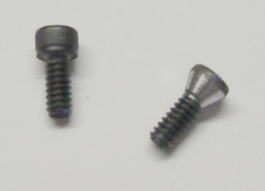
4-40 allenhead screw
before and after bevel is cut
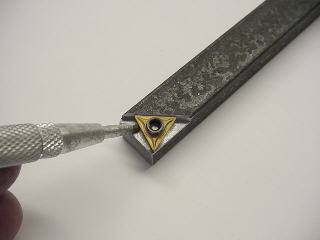
Attach the insert and scribe the sides of the insert.
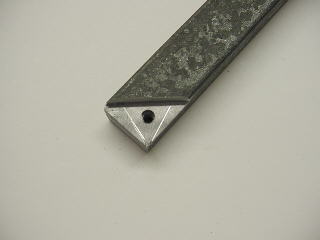
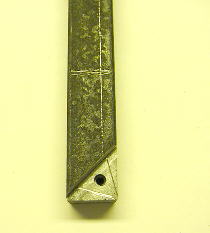
Shows where metal will need to be removed.
Using a 1/4" inserts on a 1/2" tool I also scribed a
line to remove metal from the right side of the tool
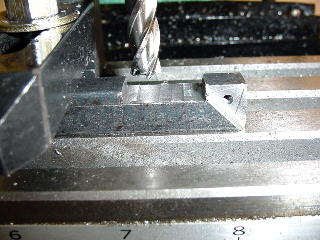
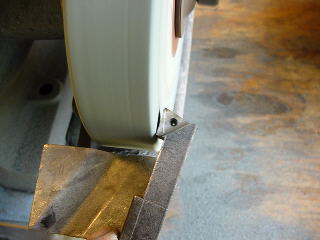
Using an end mill I removed metal to the scribe mark.
Using a fine grit grinding wheel remove excess metal.
Keep the tool quenched regularly and you will be able
to see the scribe mark.
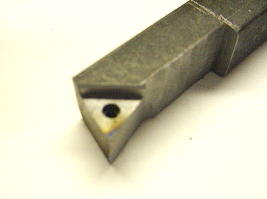
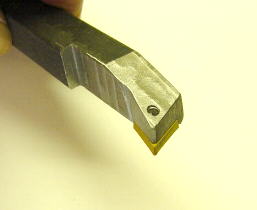
Grinding the edges is complete
I also milled an angle on the bottom side of the tool
Be careful not to remove too much material
from the tip. You want the carbide cutting tip
to be supported.
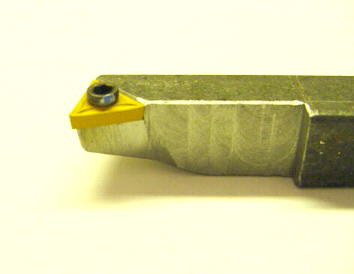
Completed tool !!
I have posted
this information to help provide an alternative for building less expensive
lathe turning tools.
I am not saying this is the best way to do it , it's
just the way I did it.
Comments / Questions /
Suggestions or Add Your Link
This information is provided for personal use only
I cannot be responsible for any $$ this may save.
Copyright 2002 Steve Bedair