Meister BC-10L DRO
Mounting "Z" Axis Scale
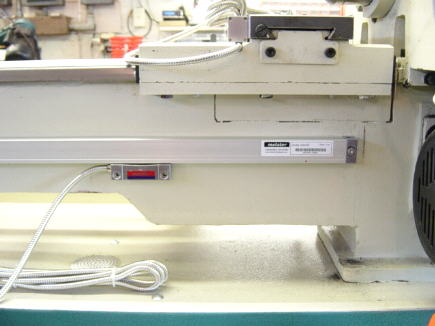
I mounted the Z axis scale below the removable gap. I also
left enough room for the coolant guard to
be mounted above the scale. I also marked the backsplash to make sure it didn't interfere with the scale
placement.
Note: You do not have to be concerned on which direction the reading head moves. The direction can be
changed easily for either axis from the control panel.
be mounted above the scale. I also marked the backsplash to make sure it didn't interfere with the scale
placement.
Note: You do not have to be concerned on which direction the reading head moves. The direction can be
changed easily for either axis from the control panel.
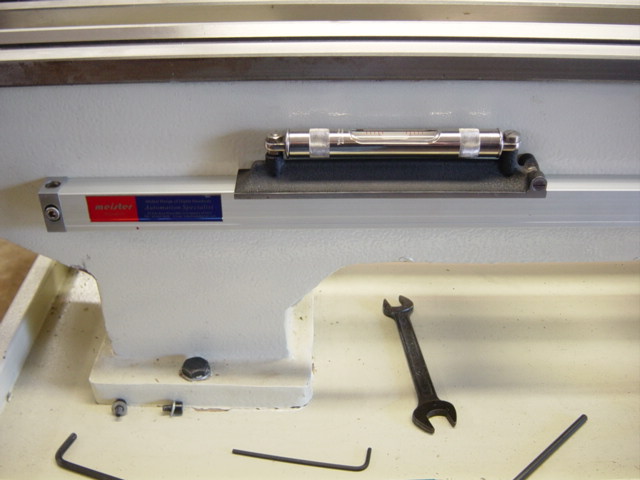
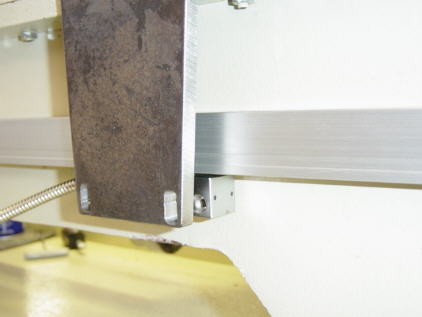
I attached the headstock end first and then using a machinist level I marked the tailstock end.
I also placed a washer behind each end of the Z axis scale so that there is a small space between
the back of the scale and the lathe. If any liquid or oil runs down it will go behind the scale.
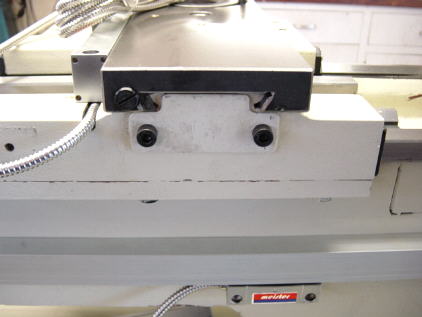
Once the Z axis was installed I decided to remove the
leadscrew cover from the end of the saddle.
I used the two existing threaded holes to attach a 1/2" thick steel plate to hold the reading head.
I used the two existing threaded holes to attach a 1/2" thick steel plate to hold the reading head.
There were no brackets included for mounting the Z axis reader head.
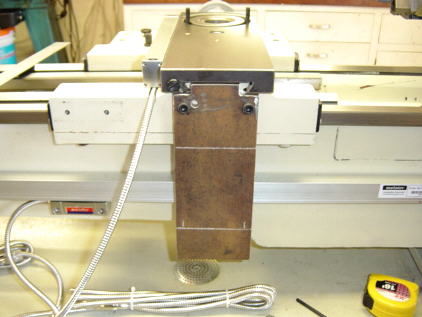
Here's pic of the roughed out steel plate.
I cut the steel plate to cover the end of the leadscrew.
(Aluminum would have worked but I didn't have any on hand)
I machined two brass spacers to correctly position the reader.
Brass spacers
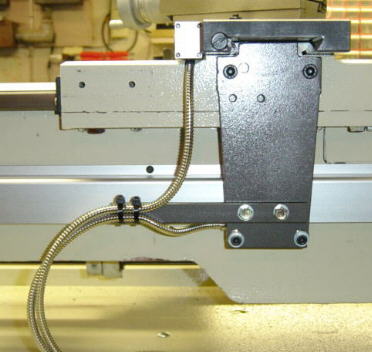
I also added a metal brace to secure the cables.
Very solid and worked very well !!